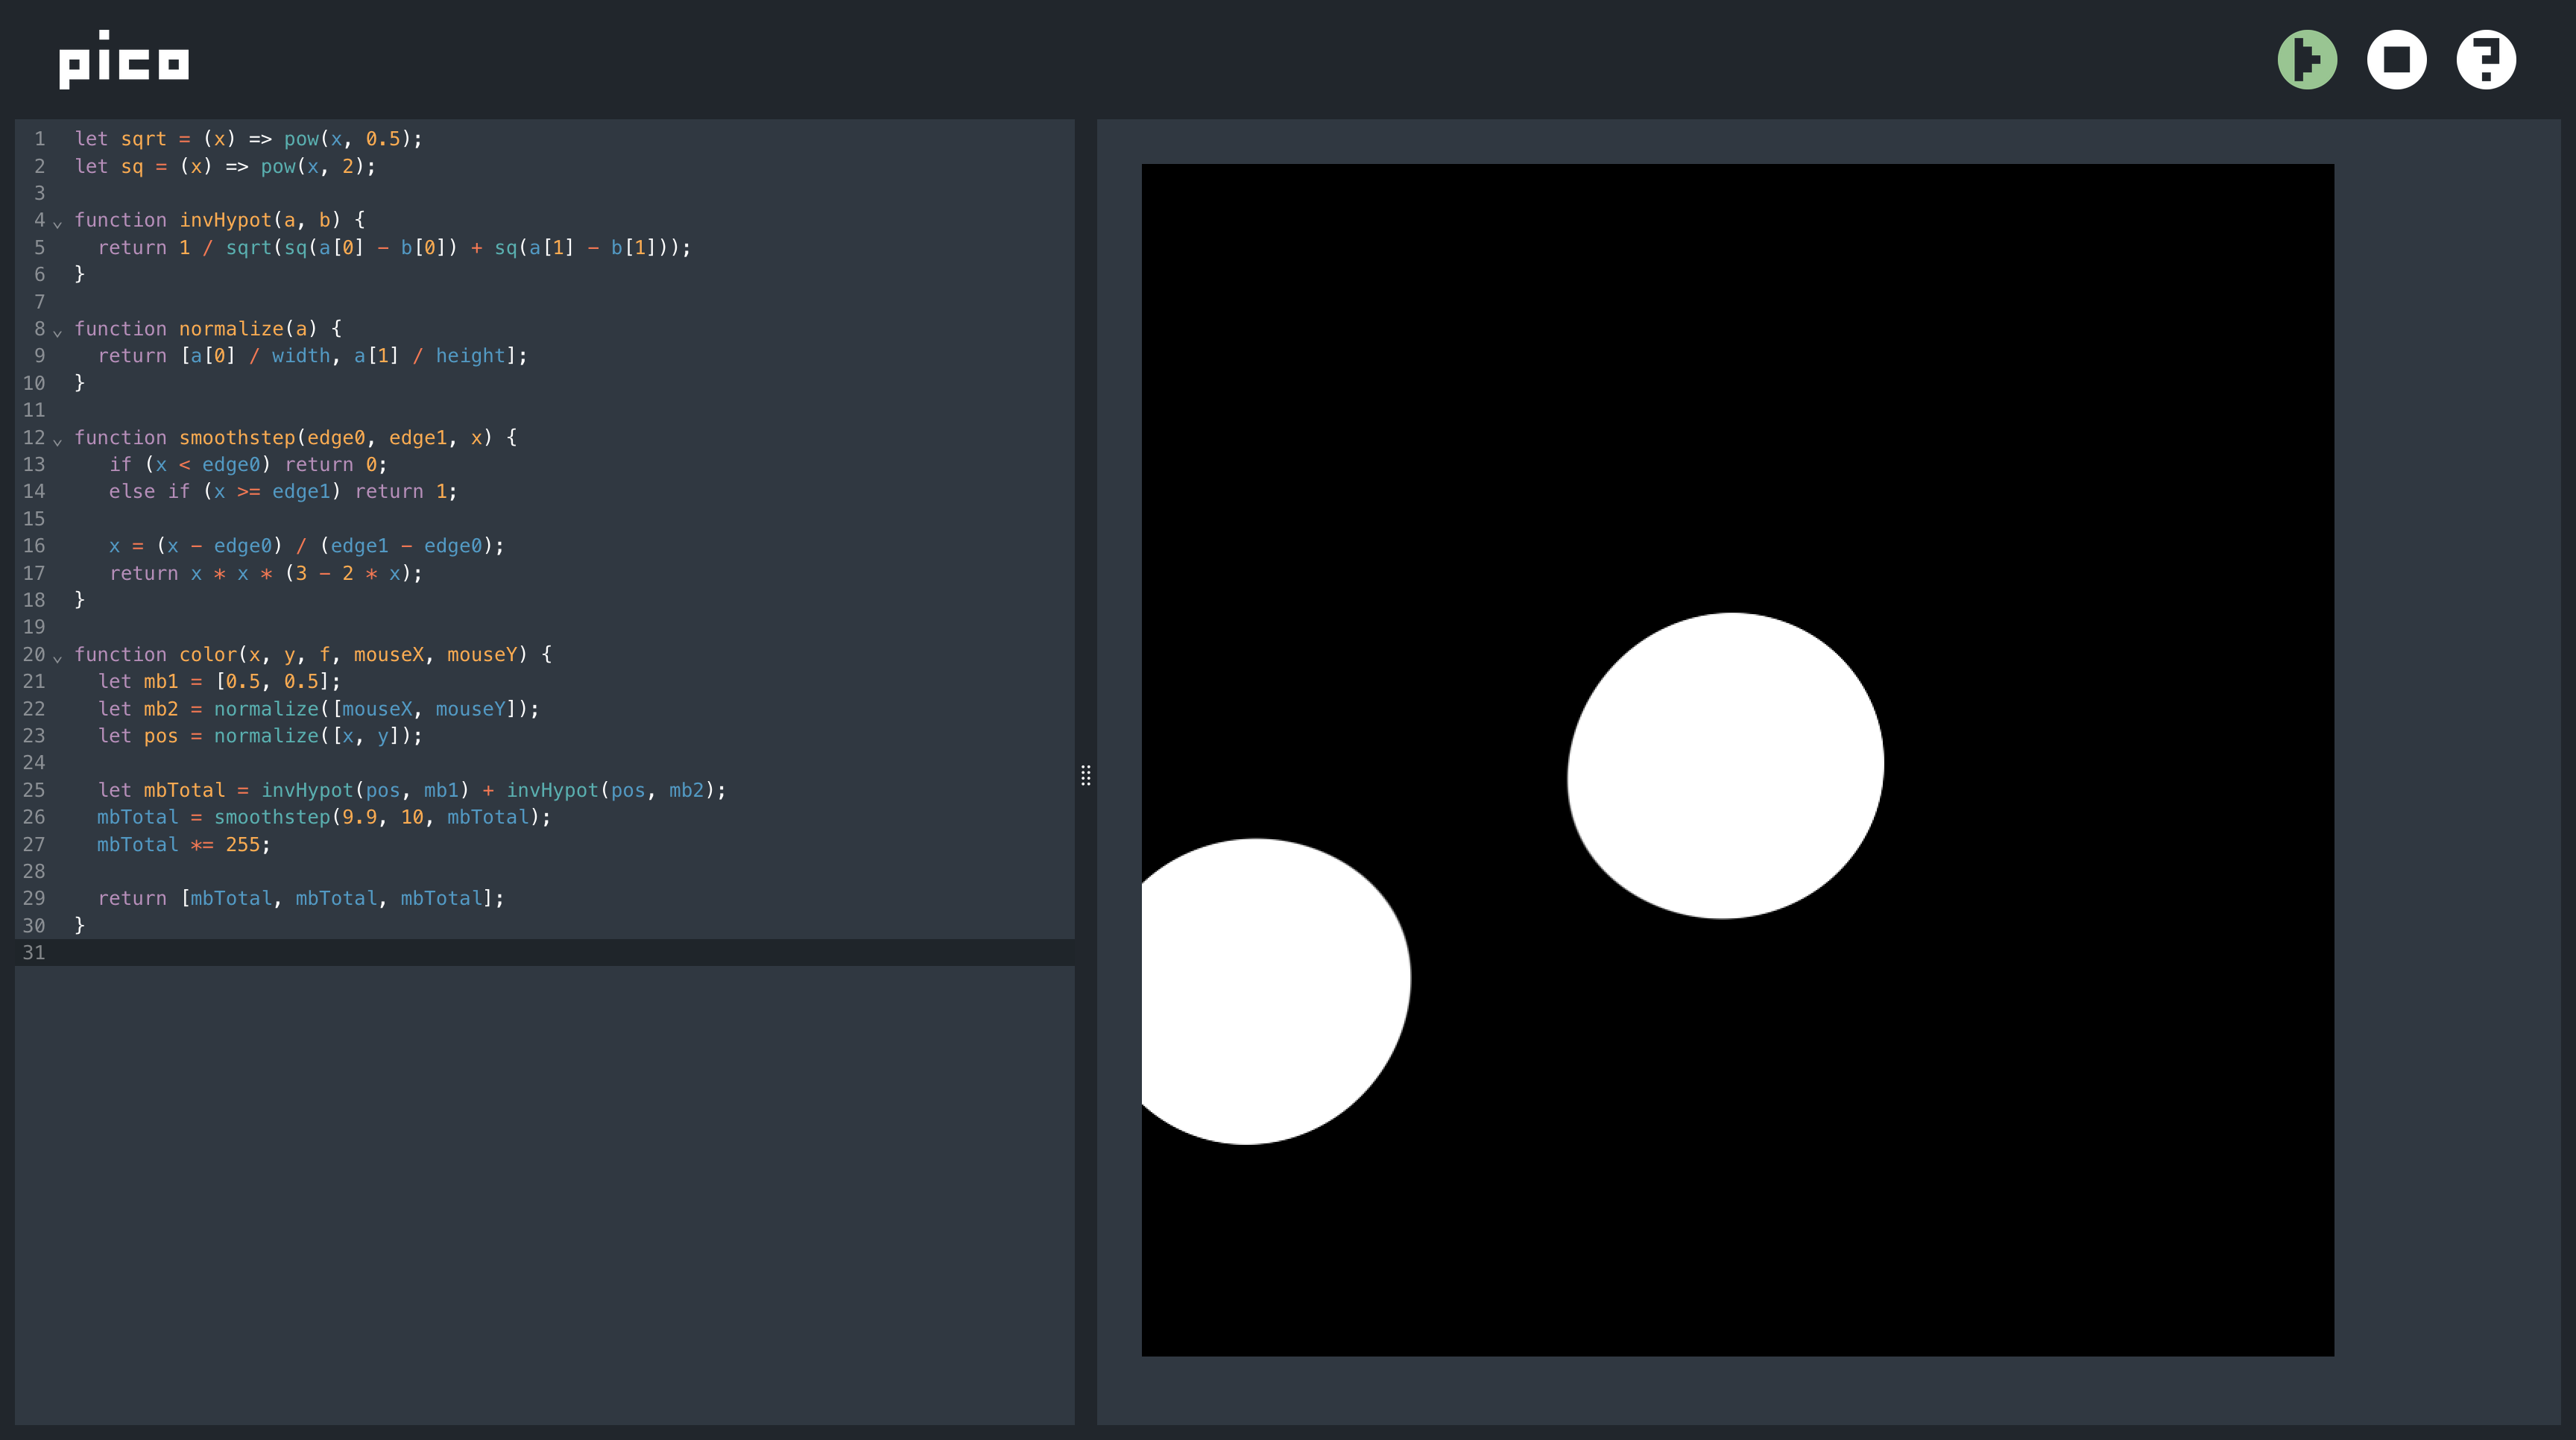
Welcome to Pico
Posted on March 28, 2023. Tags: pico, generative-art, procedural-generation, javascript, glsl, graphicsThe Pico editor lets you write JavaScript programs that draw pictures on a pixel-by-pixel basis. This post serves as a gentle introduction to Pico; for a more pared-back technical documentation, see here.
Using the editor

Write your Pico code in the left pane (everything is automatically saved as you type!). Then, to run it, click the “play” button in the top right. When you do so, the right pane displays the resulting image from running your code, or an error message. You can also “stop” the program, which will freeze the preview at the last rendered frame.
(Pro tip: you can also hit Ctrl-R to run, and Ctrl-S to stop, or Cmd-R and Cmd-S if you are on a Mac.)
Hello, world
In Pico, you write programs that color in single pixels. You do this by
providing a function, called color, that takes in the X and Y coordinates of a
pixel and returns an array of three numbers (ranging from 0-255) representing
the RGB color of that pixel.
For example, for an image that is 25 by 25 pixels, the color function you
provide will be called 625 times, once for each pixel in the image.
Let’s start with the simplest possible Pico program (I encourage you to follow along by copying and pasting this code into the editor, running it, and then changing it to see how it affects the result):
function color(x, y) {
  return [0, 0, 0];
}
As you might guess, this function ignores the coordinates of the pixel completely, and just returns black for everything, resulting in a totally black image:

This is not that interesting, but what if we vary the colors based on the X and Y coordinates?
function color(x, y) {
  return [x / width * 255, y / height * 255, 255];
}

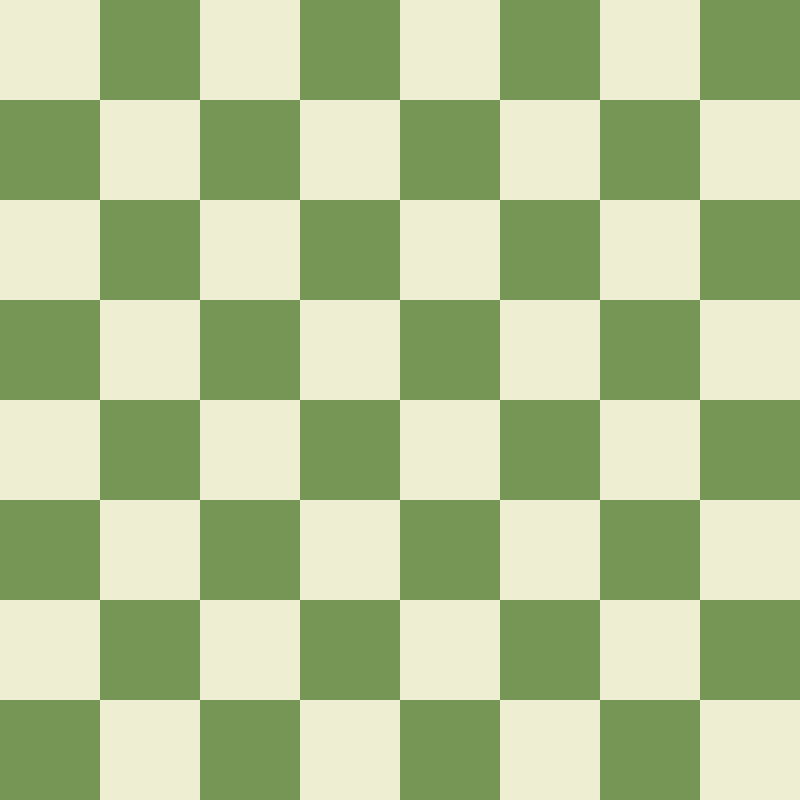
And we don’t have to restrict ourselves to just one-line math expressions; we have (almost) the full power of JavaScript in our hands. We can use loops, if/else, helper functions, etc. in our code. Some of these extra features are used in the below code, which generates a chessboard.
let indexToRank = (index, total) => {
  return floor(index / total * 8);
}

function color(x, y) {
  let column = indexToRank(y, height);
  let row = indexToRank(x, width);

  if ((column + row) % 2 == 0) return [238, 238, 210];
  else return [118, 150, 86];
}

Extra Features (and the lack thereof)
I was oversimplifying a bit when I said the color function takes in the
X and Y coordinates of the pixel. It can actually be provided with up to 6
parameters (take as many as you want; JavaScript won’t notice):
function color(x, y, f, mx, my, md);
xis the index of the pixel along the x axis, with 0 on the left and increasing towards the right.yis the index of the pixel along the y axis, with 0 on the top and increasing moving downwards.fis the index of the current frame. This starts from zero and is incremented per frame. This allows you to create animations, where the color of a pixel depends not only on its position, but also how long it has been since the code started running.mxandmyare the x- and y-coordinates of the mouse cursor, respectively. You can use these values to make your sketch interactive.mdis true if any mouse buttons are clicked, false otherwise.
You are also given three “special” variables that you can modify:
widthcontrols the width of the canvas (in pixels), andheightcontrols the height. By default, both are set to 800.loopis a boolean that you can set tofalseif you just want to render one frame. This is especially useful if your code is quite complex and is lagging the tab. This istrueby default.
For example, the below code generates a 100 wide by 5 tall green rectangle, and does not loop.
width = 100;
height = 5;
loop = false;

function color() {
  return [0, 255, 0];
}
You can set these properties anywhere in your code, but don’t try modifying
them inside color or from frame to frame – it’ll be ignored.
Finally, you are provided with a select set of math functions that would otherwise
be nearly impossible (and hugely detrimental to performance) to implement. They
are sin, cos, tan, asin, acos, atan, atan2, sinh, cosh, tanh,
asinh, acosh, atanh, log, pow, floor, and ceil.
…
And that’s all.
There are no line- or shape-drawing functions. There is no way to communicate any data between pixels, or remember anything from one frame to the next. There is not even any way to generate random numbers.
This is what makes Pico the challenge that it is; for the majority of people who have programmed a little before, it can be difficult to get into the bottom-up mindset needed to create things in Pico. But for me at least, there’s some satisfaction to be derived from really building something complex from about as close to zero as possible.
With what you’re given, can you draw a cloud? The texture of water ripples? Maybe even a 3d object using raymarching and SDFs? Go give it a try!
Additional background
Pico is heavily inspired by GLSL and Shadertoy. If you enjoy Pico, you might want to look more into those! Low-level graphics (OpenGL, Vulkan) are quite confusing, but they are based on the same essential concepts as Pico (highly parallelizable code that can be very rapidly executed by a GPU). And Pico’s restrictions are designed to emulate similar challenges with coding in GLSL.
However, for the common layperson such as myself, OpenGL is just too hard to figure out without dedicating nonnegligible amounts of time to learning it. Pico allows you to play around with some similar concepts from the comfort and leniency of JavaScript. There should be little to no learning overhead for people with a bit of coding experience.
Of course, it comes at a cost; Pico programs are much less performant than their
GLSL counterparts. And this tradeoff is surprisingly fine for most beginner
usecases (at least on decent hardware), and even somewhat of an additional
challenge to write as efficiently as possible. However, if you’ve written a
really gnarly color function, and have optimized it as much as you can, but
it still lags your computer and crashes your tab, consider porting it to GLSL!
I am very interested to see what you, dear reader, make with Pico! You can find my contact info on the Links page of this website. (Or you can just play with Pico on your own; I’ll never know.) If you would like to contribute to the project, issues and pull requests are open here.